Documentation Index
Fetch the complete documentation index at: https://docs.picaos.com/llms.txt
Use this file to discover all available pages before exploring further.
Prerequisites
Before installing the MCP server, you’ll need:- Pica Account - Create a free account
- Pica API Key - Get your API key from Settings > API Keys
- Connected Integrations - Connect integrations from the Connections page
- MCP-Compatible IDE - Claude Desktop, Cursor, Windsurf, or any MCP client
Installation
The easiest way to install the Pica MCP Server is via NPM:npx without installation:
Other Installation Methods
- Remote MCP Server
- Smithery
- Docker
- From Source
Remote MCP Server
Install via remote MCP server
Configuration
Set Your API Key
The MCP server requires your Pica API key to authenticate requests. Set it as an environment variable:Optional: Identity Scoping
You can scope connections to a specific identity (e.g., a user, team, or organization) by setting these optional environment variables:| Variable | Description | Values |
|---|---|---|
PICA_IDENTITY | The identifier for the entity (e.g., user ID, team ID) | Any string |
PICA_IDENTITY_TYPE | The type of identity | user, team, organization, project |
IDE Setup
 Cursor
 Windsurf
To use the MCP server in Cursor: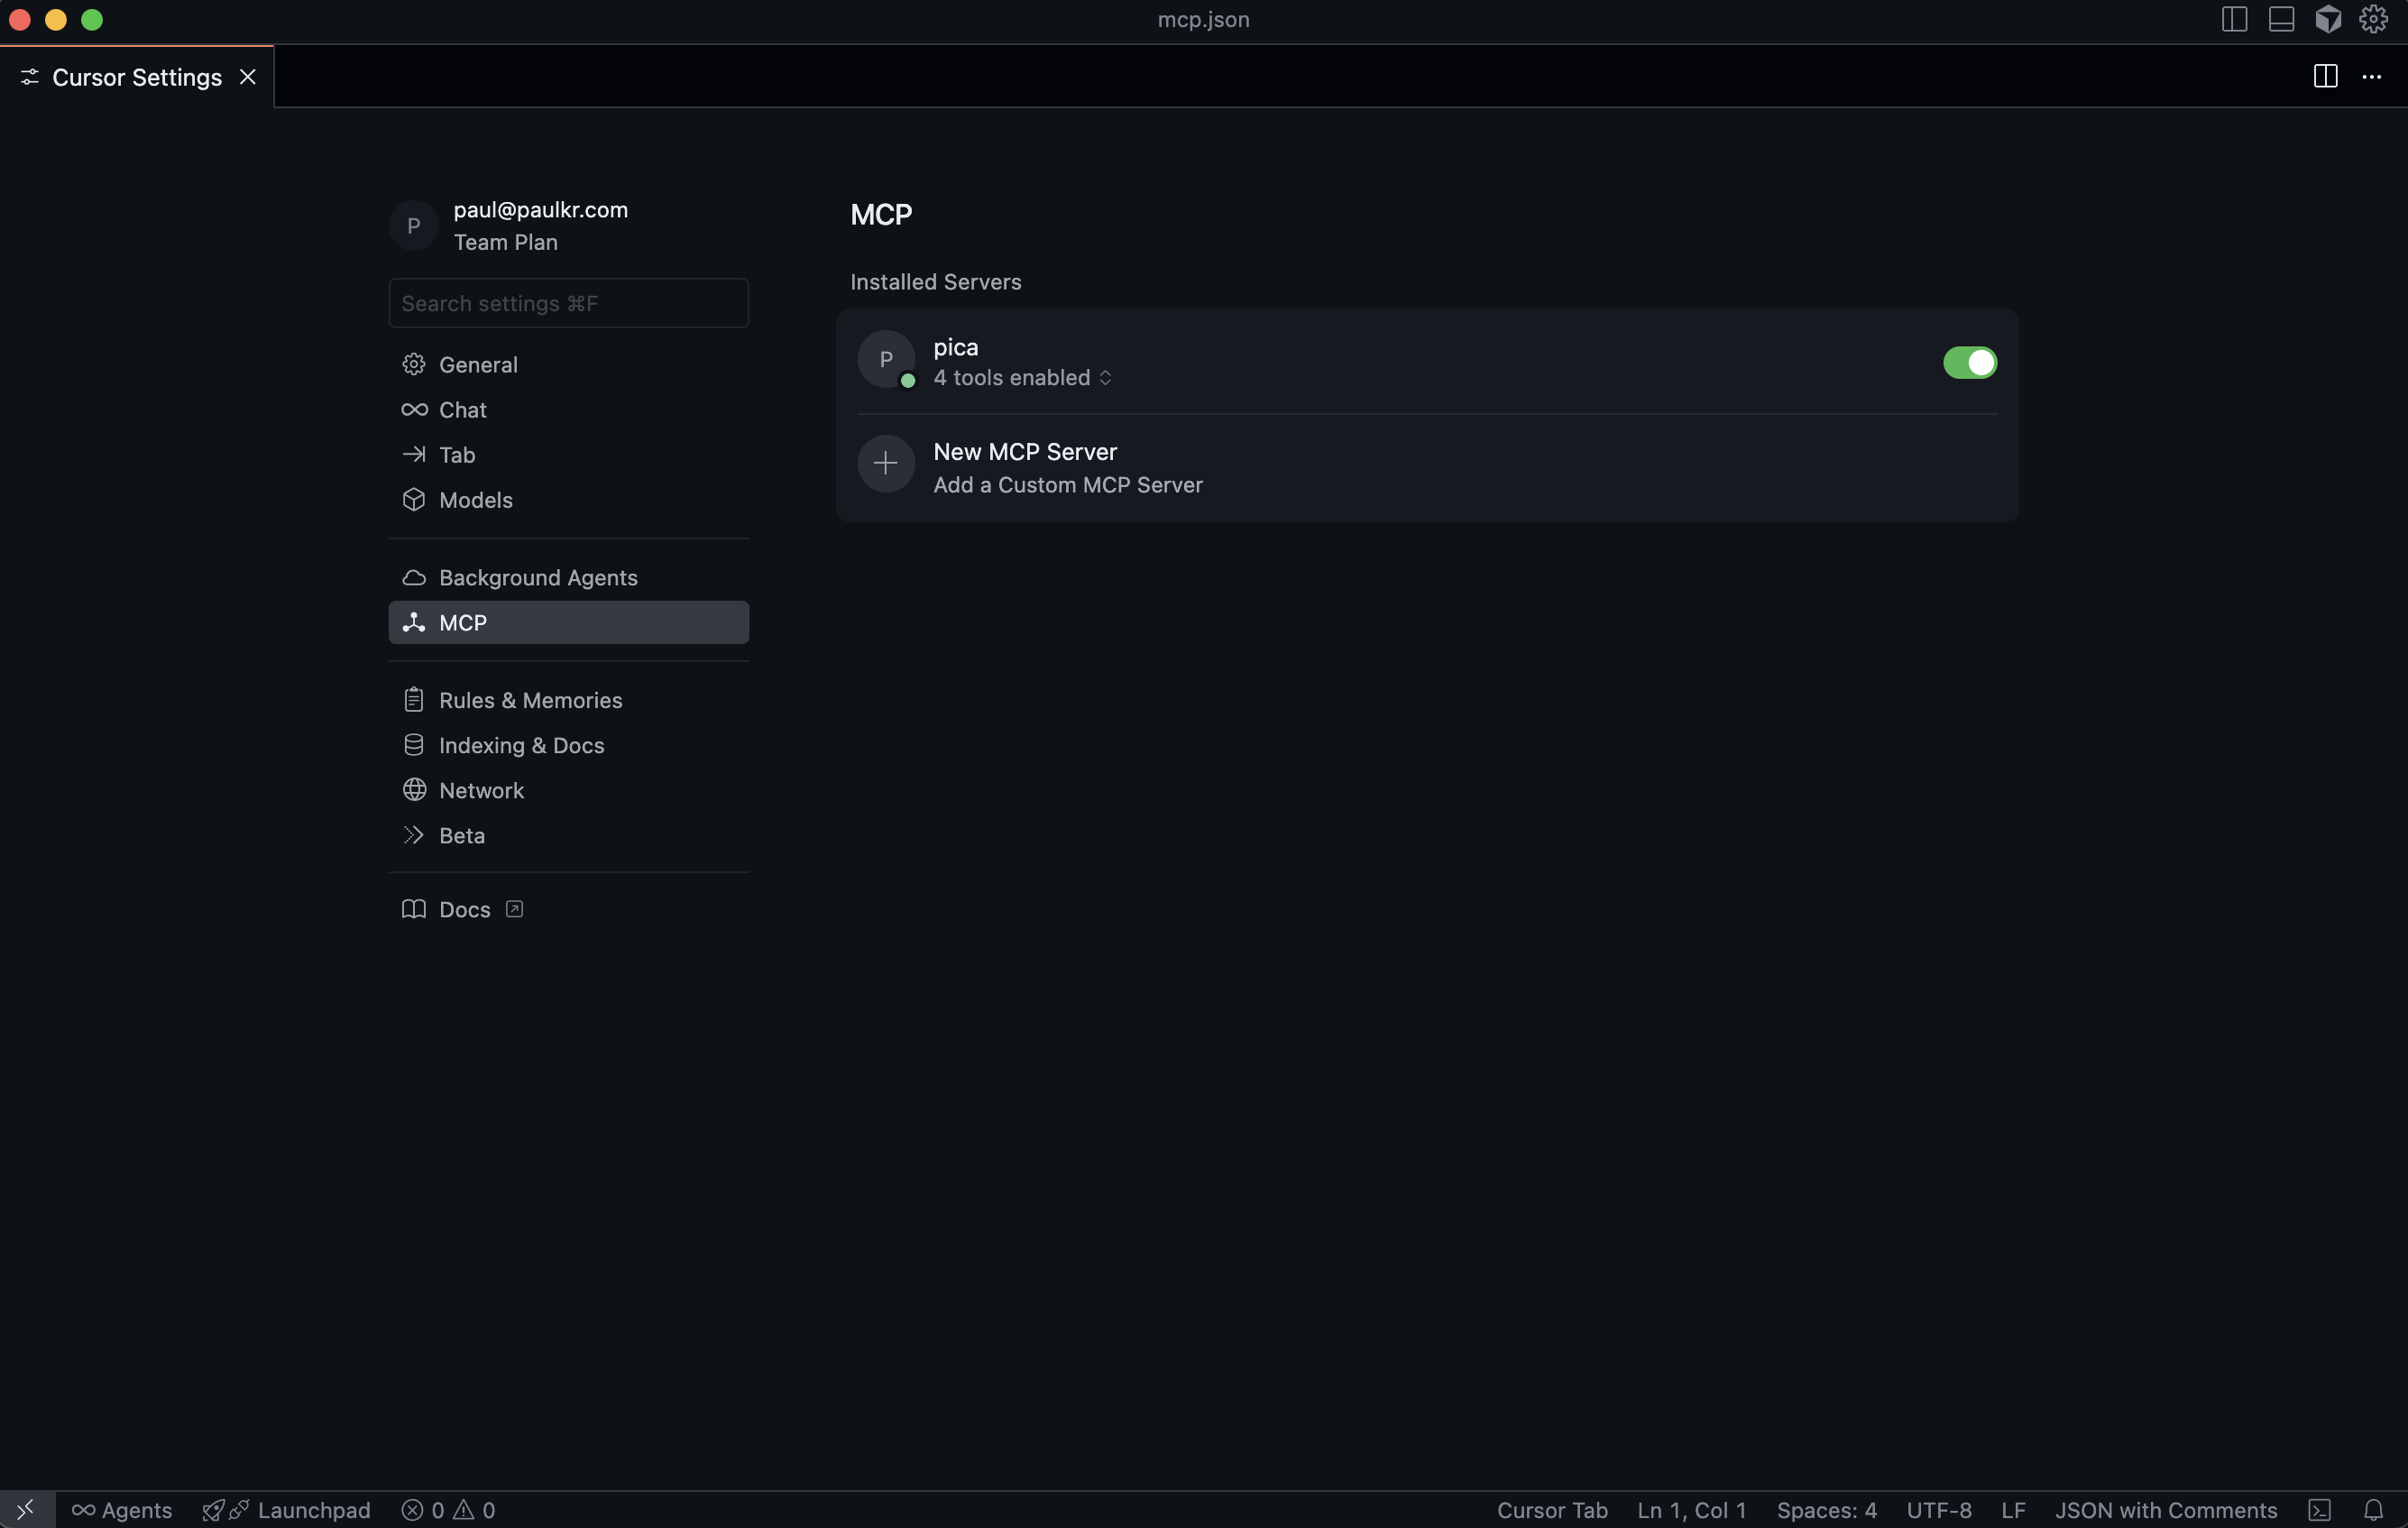
- Open Cursor and go to Cursor Settings
- Select MCP Settings from the menu
- Add the following configuration to your MCP JSON file:
PICA_IDENTITY and PICA_IDENTITY_TYPE are optional. Only include them if you want to scope connections to a specific identity.- Save the file and restart Cursor
- “What connections do I have access to?”
- “Show me all Gmail actions I can perform”
- “Send an email using Gmail to hello@picaos.com”
- “Build a React form component that sends emails with Gmail”
Examples
Once set up, you can use the MCP server for three main purposes:- Execute Actions
- Generate Code
- Get Insights
Direct Action Execution
Ask your AI to perform actions on integrated platforms:Gmail - Read Emails
Gmail - Read Emails
Slack - Send Message
Slack - Send Message
Google Calendar - Create Event
Google Calendar - Create Event
Salesforce - Create Lead
Salesforce - Create Lead
Advanced Configuration
Manual Installation
If you want more control over the installation:PICA_IDENTITY and PICA_IDENTITY_TYPE are optional. Only include them if you want to scope connections to a specific identity.Deploy to Vercel
You can deploy the MCP server to Vercel for remote access:-
Install dependencies including Vercel adapter:
-
Deploy to Vercel:
-
Set environment variables in Vercel:
PICA_SECRET(required)PICA_IDENTITY(optional)PICA_IDENTITY_TYPE(optional)
-
Configure your MCP client to use the remote server:
- For Cursor:
https://your-project.vercel.app/api/mcp - For Claude/Cline: Use
npx mcp-remote https://your-project.vercel.app/api/mcp
- For Cursor:
Troubleshooting
MCP Server Not Responding
MCP Server Not Responding
Problem: The AI can’t connect to the MCP server.Solutions:
- Verify your
PICA_SECRETis set correctly in the configuration - Check that the MCP server is running (restart your IDE)
- Ensure you have an active internet connection
- Try running
npx @picahq/mcpmanually to test
Authentication Errors
Authentication Errors
Problem: Getting 401 or authentication errors.Solutions:
- Verify your API key is valid at Settings > API Keys
- Check that your integrations are connected at the Connections page
- Ensure the API key has proper permissions
No Connections Available
No Connections Available
Problem: The server reports no connections available.Solutions:
- Connect integrations at app.picaos.com/connections
- Verify connections are active and not expired
- Re-authenticate if needed
Action Execution Fails
Action Execution Fails
Problem: Actions fail to execute.Solutions:
- Check the action knowledge first using
get_pica_action_knowledge - Verify all required parameters are provided
- Ensure your connection has proper permissions for the action
- Check for rate limits or API-specific restrictions
Next Steps
Claude Desktop Setup
Specific setup guide for Claude Desktop
Browse Integrations
Explore all 200+ available integrations
API Reference
Learn about the underlying Pica APIs
GitHub Repository
View source code and contribute
Get Help
Contact Support
Have questions? Email us at support@picaos.com for assistance