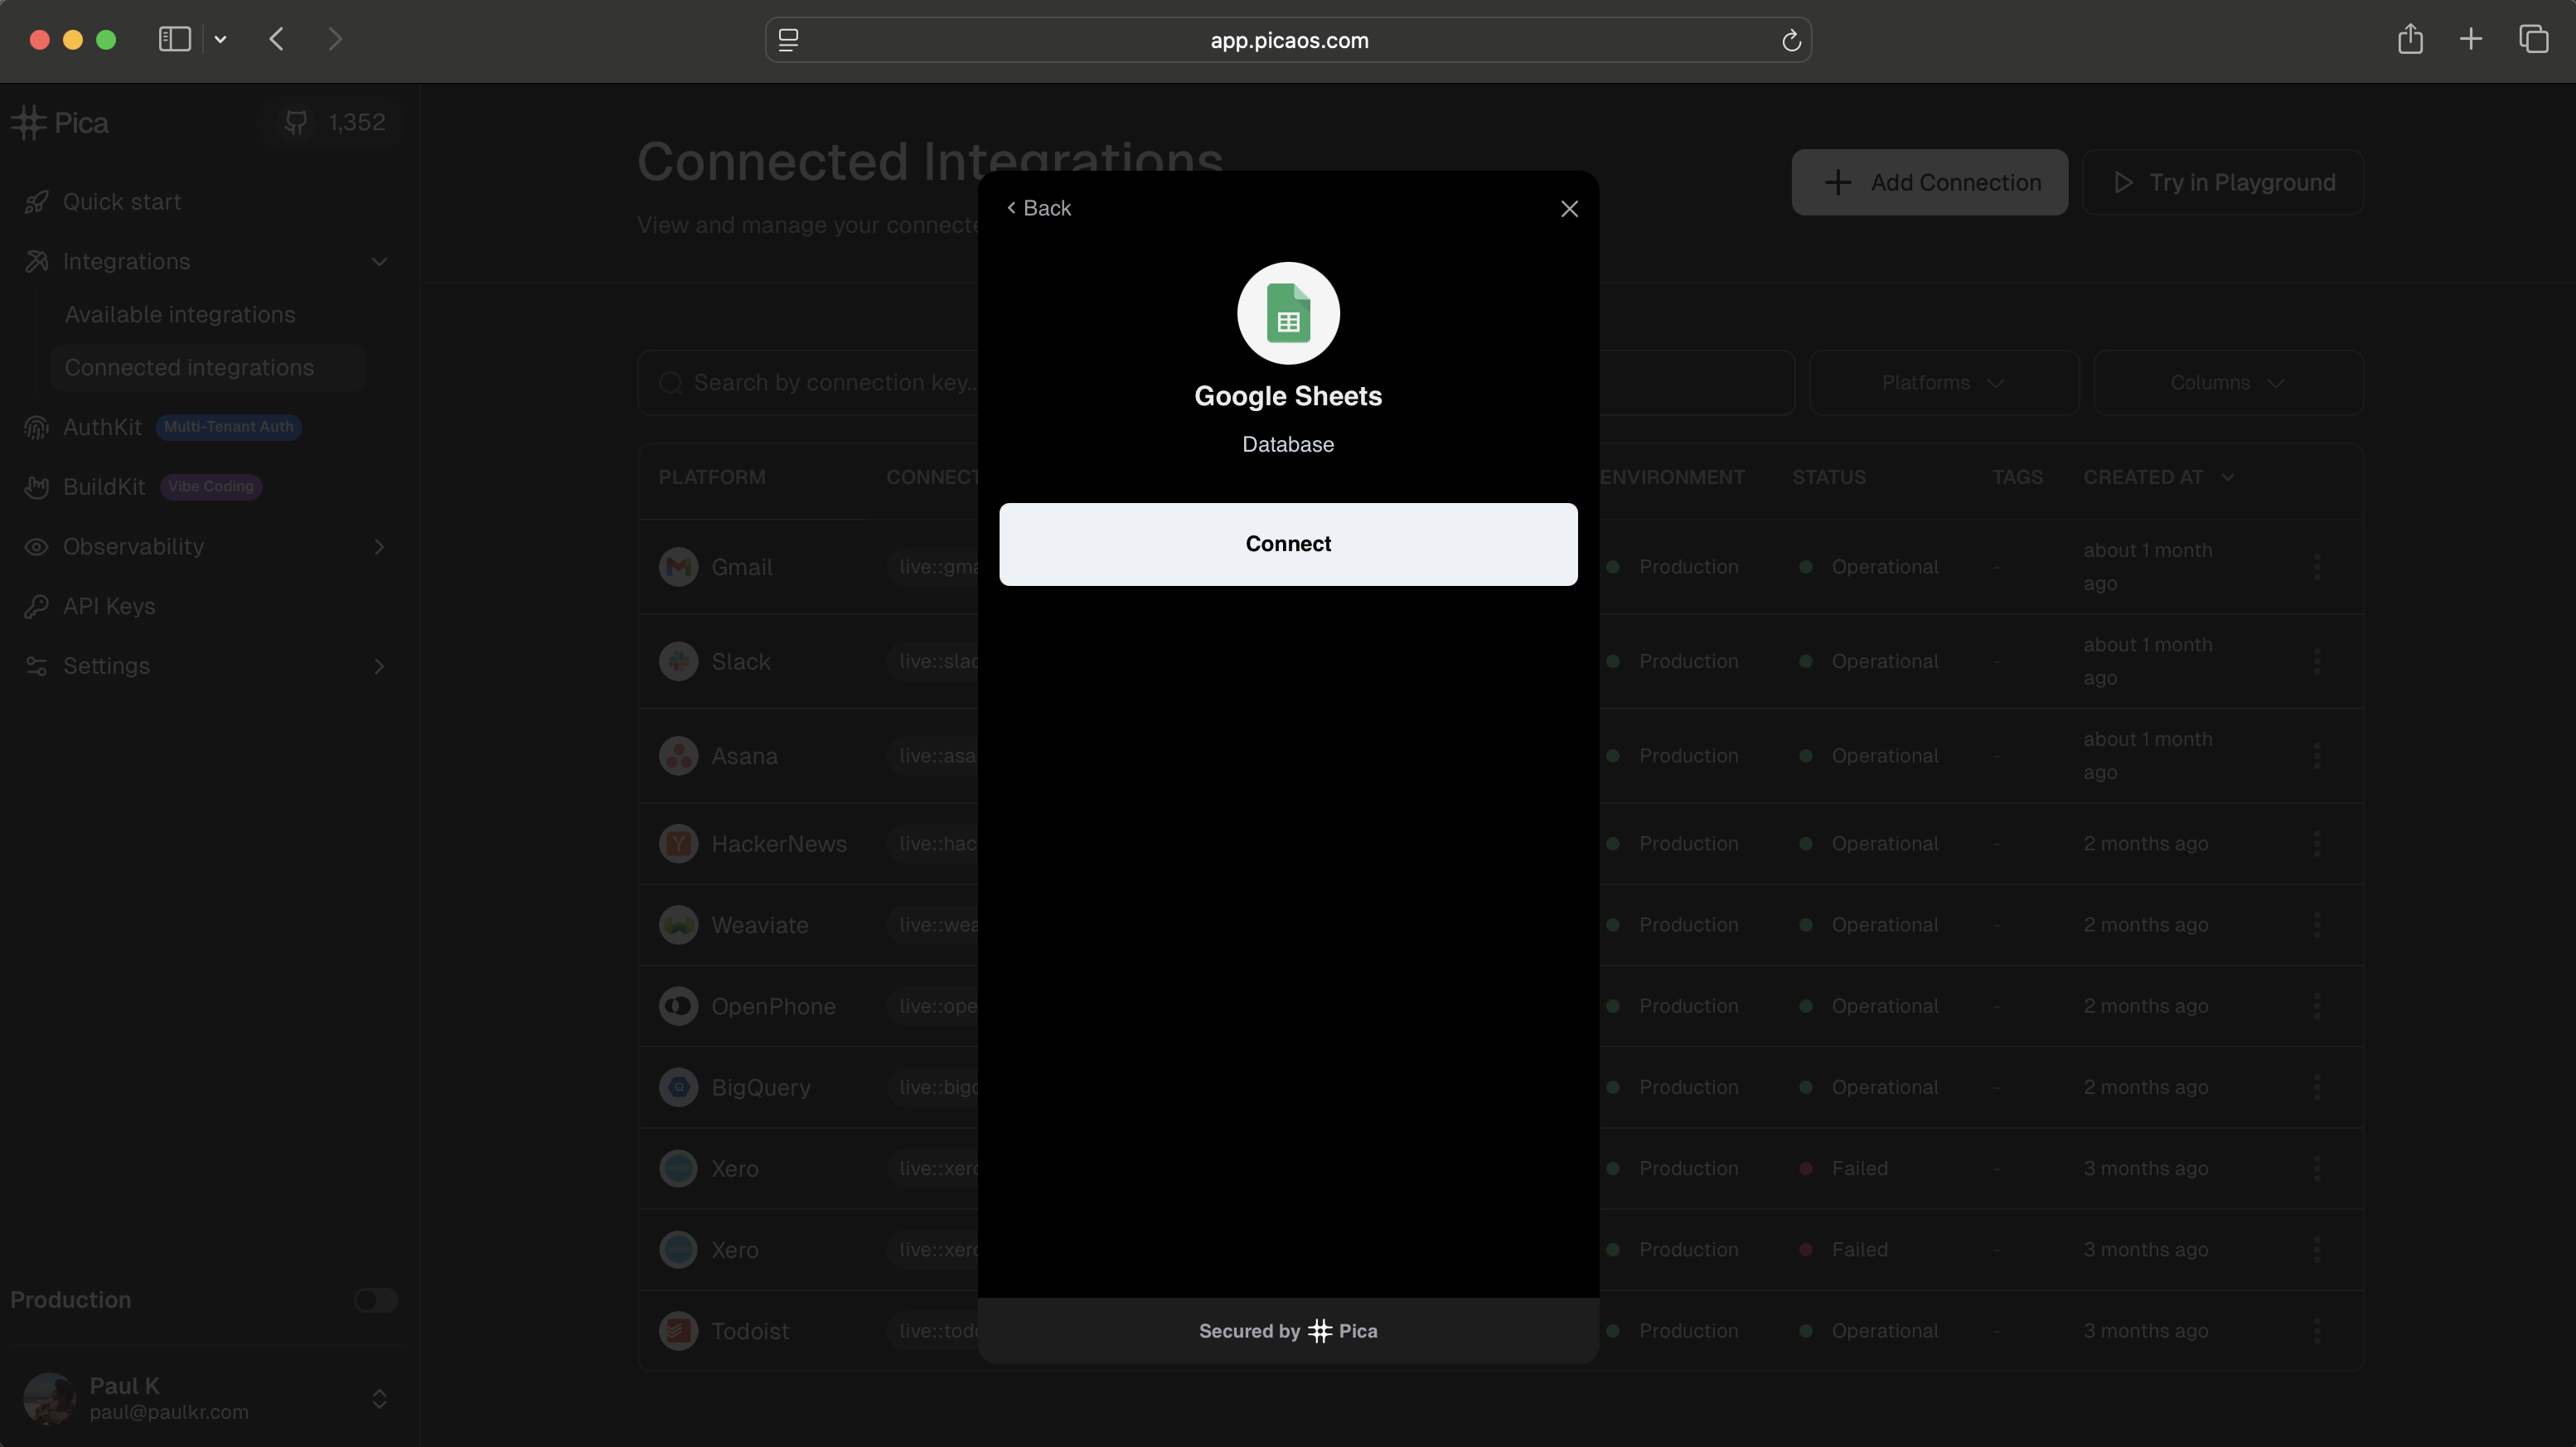
AuthKit is a pre-built, embeddable authentication UI that makes it easy for your users to securely connect their third-party accounts (Gmail, Slack, Salesforce, QuickBooks, etc.) directly within your application. Think of it as “Plaid for integrations.”
At Pica, we dogfood our own products. AuthKit powers the connection experience in Pica’s dashboard. Create a free account, navigate to the Connected Integrations tab, click “Add Connection”, and see AuthKit in action!
Why use AuthKit?
Building authentication flows that handle every possible error state and edge case across multiple integrations is complex and time-consuming. AuthKit solves this by providing:Secure authentication
Handles OAuth flows and API key authentication with automatic token refresh and secure storage
Multi-tenant architecture
Isolate connections by user, team, organization, or project with built-in identity scoping
Customizable branding
White-label the UI to match your brand for enterprise customers
Self-hosted OAuth apps
Use your own OAuth credentials (Client ID and Secret) for complete control
How it works
AuthKit follows a secure, token-based flow to authenticate your users’ third-party accounts:The authentication flow explained
1
User clicks to connect
Your user clicks a button in your app to connect an integration (e.g., “Connect Gmail”). This triggers the AuthKit modal to open.
2
AuthKit requests token
As the modal opens, AuthKit automatically requests a secure token from your backend. Your backend generates the token with the user’s identity (like
userId, teamId, or organizationId) which determines who owns the connection.3
Display integrations
AuthKit displays the list of available integrations for the user to browse and select from.
4
User authenticates
The user selects an integration and completes the OAuth flow or enters their API key. Pica securely stores the encrypted credentials.
5
Connection created
AuthKit returns the connection details to your app, including a
connectionKey that you’ll use to make authenticated API requests.Your backend never sees or stores the user’s third-party credentials. Pica handles all authentication securely and returns only the connection metadata to your app.
Key concepts
Identity and Identity Types
Every connection created through AuthKit is scoped to an identity—a unique identifier you provide that represents who owns the connection.| Identity Type | Example Use Case | Example Identity |
|---|---|---|
user | B2C apps where each user connects their own accounts | user_123, email address |
team | Apps where team members share connections | team_abc, workspace ID |
organization | Enterprise apps with org-wide integrations | org_xyz, company ID |
project | Project-based tools with isolated resources | project_456, project UUID |
- Filter connections by user, team, or organization
- Build multi-tenant applications with proper data isolation
- List and manage connections for specific identities
- Ensure users only access their own integration data
Connection Keys
When a connection is successfully created, Pica returns a connection key—a unique identifier for that specific authenticated connection. You’ll use this key when making API requests to access that user’s data from the integration. Example:test::exa::default::af92aee9cbcd4aae904b9b01d3c75c40|user-123
Use cases
B2B or B2C SaaS with customer integrations
B2B or B2C SaaS with customer integrations
Let your customers connect their Salesforce, HubSpot, or QuickBooks accounts to sync data with your platform. Each customer’s connections are isolated by their organization ID.
Productivity apps with personal accounts
Productivity apps with personal accounts
Enable users to connect their personal Gmail, Google Calendar, or Slack accounts to automate workflows. Each user owns their own connections.
Team collaboration tools
Team collaboration tools
Allow teams to share integration connections across all team members. Set the identity to a team ID so everyone on the team can access the same connected accounts.
White-label platforms
White-label platforms
Build a platform where your customers can offer integrations to their end users.
What’s next?
Set up AuthKit
Follow the technical guide to integrate AuthKit into your application
Manage AuthKit
Learn how to configure integrations, work with user connections and make authenticated requests
View demo app
See a complete Next.js implementation of AuthKit
Browse integrations
Explore all integrations available through AuthKit