Documentation Index
Fetch the complete documentation index at: https://docs.picaos.com/llms.txt
Use this file to discover all available pages before exploring further.
- Back-and-forth emails to find availability
- Manually checking calendars to avoid conflicts
- Creating calendar events and sending invitations
- Confirming details with all participants
What You’ll Build
An AI booking agent that:- 🤖 Greets users and collects meeting requirements
- 📅 Checks your Google Calendar for availability using Pica
- ⏰ Suggests available time slots based on preferences
- ✉️ Creates calendar events with guest invitations
- ✅ Confirms bookings with the user
Prerequisites
Before starting, make sure you have:- An OpenAI account with access to Agent Builder
- A Pica account (sign up here)
Part 1: Build the Agent in OpenAI Agent Builder
Create a New Agent
Navigate to OpenAI’s Agent Builder and create a new agent.Click + New Agent to get started.
Configure the Agent Node
Add an Agent node to your workflow and configure it with the following system prompt:
Add the Pica MCP Server
Click + New Tools → MCP Server → + ServerConfigure the MCP server with these settings:For the Header Value, you’ll need your Pica Secret Key:
- Visit Pica API Keys
- Copy your secret key
- Add it as a custom header:
Connect Google Calendar
Your agent needs access to Google Calendar: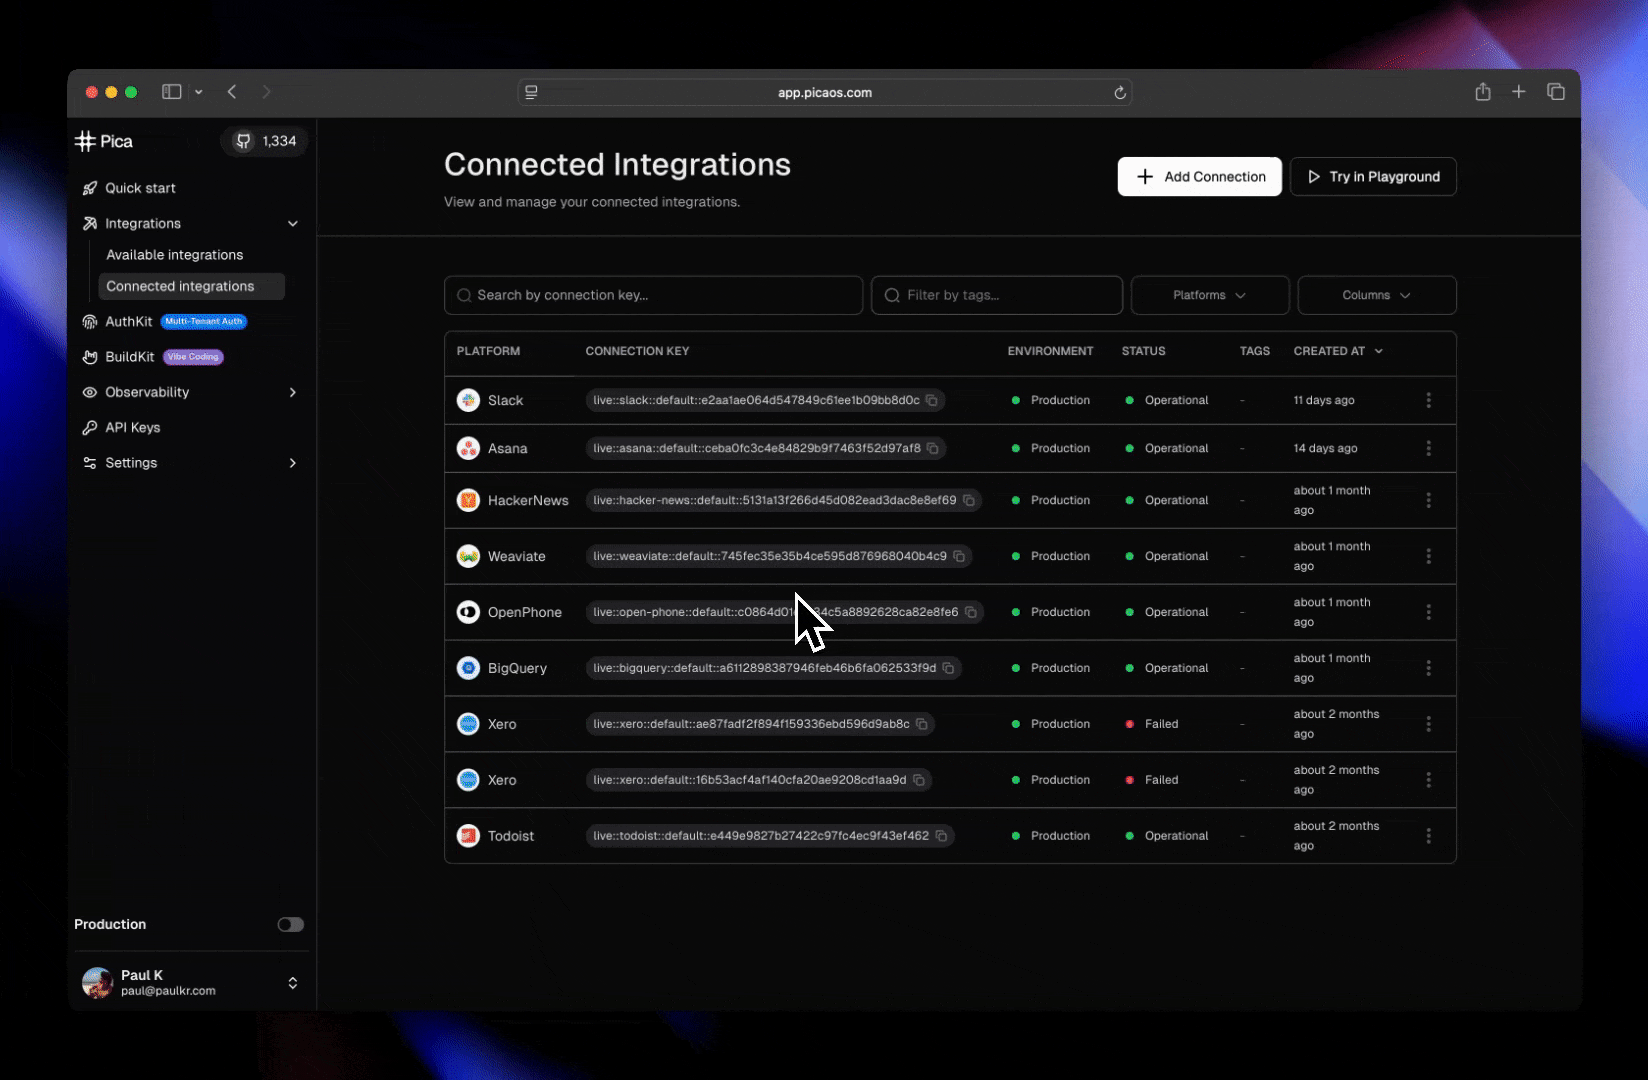
- Go to Pica Dashboard Connections
- Click + Add Connection
- Select Google Calendar
- Authorize Pica to access your calendar
Part 2: Build the ChatKit Interface
Now let’s create a beautiful chat interface for your booking agent using OpenAI’s ChatKit.Configure Environment Variables
Create a
.env.local file in the root directory:Where do I find these values?
Where do I find these values?
OPENAI_API_KEY:
- Go to OpenAI API Keys
- Create a new key within the same org & project as your Agent Builder
- This is the Workflow ID you copied after publishing your agent
- It should look something like:
wf_abc123xyz
Run the Application
Test Your Booking Agent
Try starting a conversation: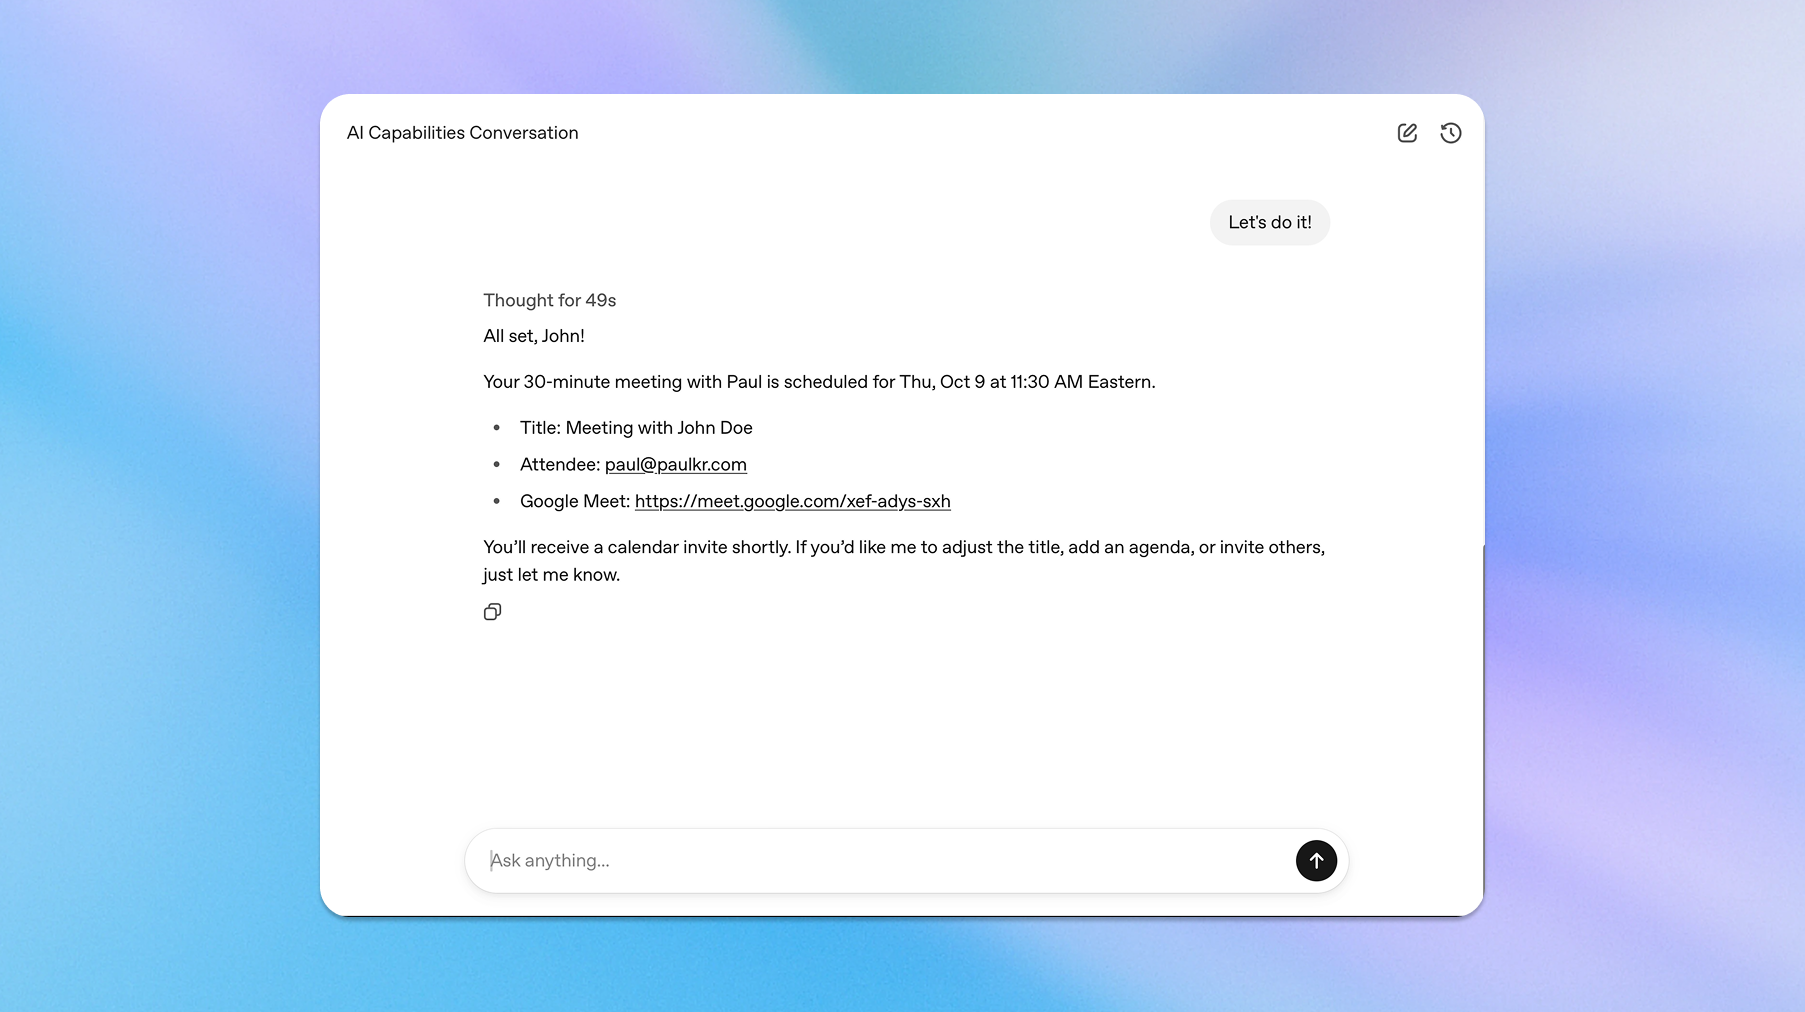
- “I’d like to schedule a meeting”
- “Can you help me book a 30-minute call?”
- “I want to meet tomorrow afternoon”
- Greet you warmly
- Ask for your details
- Check your calendar for availability
- Suggest time slots
- Create the meeting when confirmed
Extend the Agent
You can enhance your booking agent by:- Adding timezone support for international meetings
- Integrating Gmail to send custom confirmation emails
- Checking multiple calendars for team availability
- Adding meeting types (15min, 30min, 60min calls)
- Collecting meeting agendas before scheduling
Connect More Services
Pica supports 200+ integrations through the MCP server. Add more tools to your agent:- Slack - Send meeting notifications
- Notion - Create meeting notes pages
- Zoom - Generate video meeting links
- Linear - Create follow-up tasks
Troubleshooting
Agent isn't connecting to calendar
Agent isn't connecting to calendar
Make sure:
- Your Google Calendar connection is active in Pica Dashboard
- The
x-pica-secretheader is correctly set in Agent Builder - You’ve published the agent after making changes
ChatKit won't load the workflow
ChatKit won't load the workflow
Verify:
NEXT_PUBLIC_CHATKIT_WORKFLOW_IDmatches your published workflow IDOPENAI_API_KEYis from the same org/project as Agent Builder- The workflow is published (not just saved as draft)
Calendar events aren't being created
Calendar events aren't being created
Check:
- The agent has permission to write to your calendar
- You confirmed the time slot in the conversation
- The guest email address is valid
Resources
OpenAI Agent Builder Documentation
Learn how to create, configure, and deploy agents using OpenAI’s Agent Builder.
ChatKit JavaScript Library
Integrate conversational AI into your app with the official ChatKit JS library.
Pica MCP Server
Access the Pica MCP Server for seamless integration with 200+ SaaS tools.
Pica API Reference
Explore the full API documentation for Pica’s endpoints and capabilities.